Creating a bot
Create your first bot as a Pinoybot User
Creating your first PinoyBot bot only takes a few steps. You'll start by creating a bot from your dashboard, give it a name, and then you'll be ready to configure its knowledge, behavior, and channels.
This guide walks you through the initial creation process. You don't need to have everything figured out yet — you can always come back and customize your bot later.
Before you begin
Make sure you're signed in to your PinoyBot account and have access to your dashboard.
Once you're ready, let's create your first bot.
Where can you create a bot?
You can find the Create Bot button in https://www.pinoybot.com/dashboard/chatbots or by clicking the Chatbots tab in the dashboard.

Pick a nice name
When you have clicked the button, a popup appears for your chatbot details. Pick a good name!
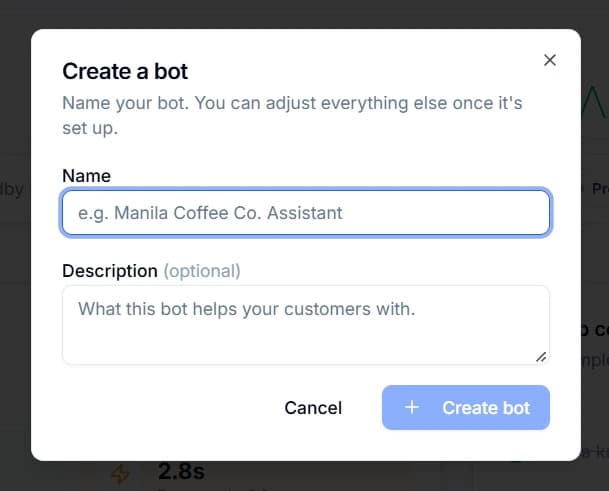
After creating your bot, it will be automatically selected. You can see that on the chatbot selector in the header.
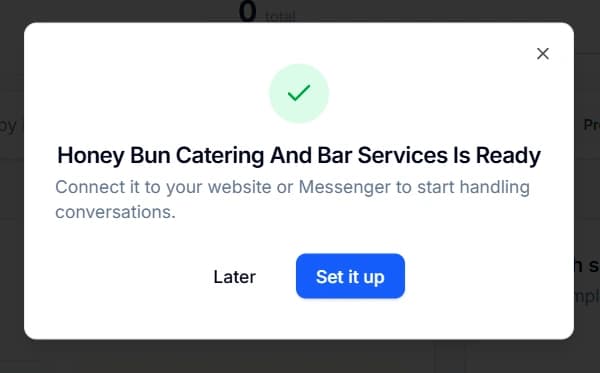
Finished creating your bot
Clicking the setup button here will make you navigate to the integrations page so you can deploy your chatbot. You can skip it if you want to explore and setup a little more.
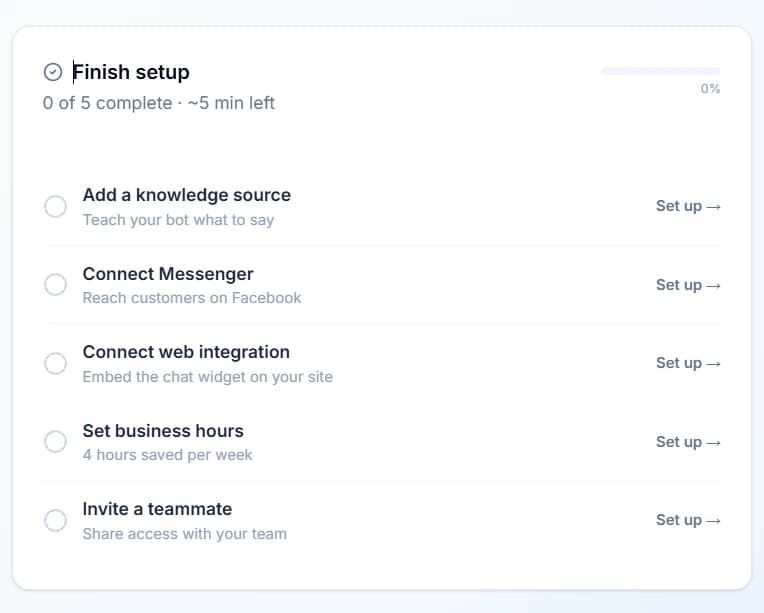
What comes after
You can check out the setup checklist in the dashboard! It is right below the create button. Great place to start.
If you made a mistake or wanted something changed, don't worry about it! You can change it anytime at Bot Settings.
You may also want to check out these guides
| Train your bot | Train your bot with files |
| Channels | Put the chat widget on your site |
| Editing chatbot details | Edit your chatbots behavior and profile. |
Did this fix it?
If your bot still gives the wrong answer, tell us what happened. You do not need to be signed in.