Notifications
Who and how a person is notified by the bot.
This is where you configure how and who receives notifications when the bot hands off a customer conversation. Hand off occurs when the bot lacks the information to answer, or when a question triggers a "notify agent" scenario defined in your training data. See Training Pairs on how to set the training data, so that the chatbot will notify agents, users, and people of the necessity of their intervention.
Notifications help your team stay informed when your chatbot encounters an inquiry that needs attention.
You can configure how alerts are delivered and manage the contacts who should receive them. This helps your team respond to customer inquiries that require human intervention.
Before you begin
You need Agent, Moderator, Editor, Admin or Owner roles are able to edit this Bot Setting.
Navigation
Open Notifications tab under Bot Settings.
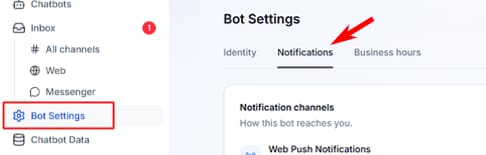
The Form
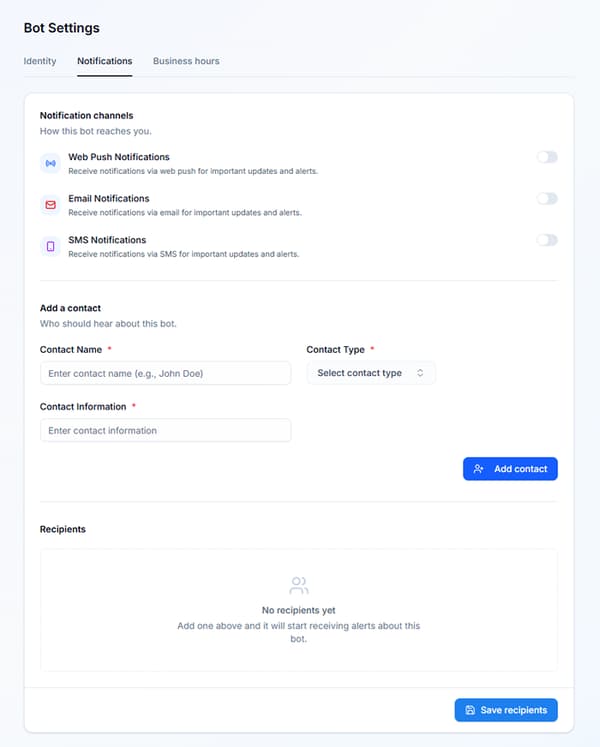
Notification Channels
This section determines the communication paths the system uses to reach you. Click the toggle switch on the right side of each option to activate or deactivate it.
Choosing notification channels
You can choose how you want to receive alerts when an inquiry needs your
attention.
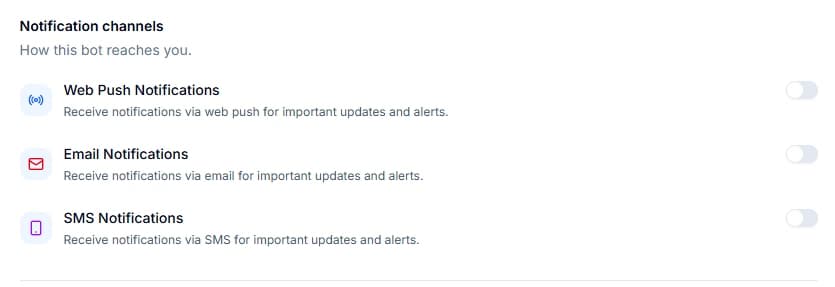
Web Push Notifications
Enables alerts directly through your internet browser window when the platform is open. Don't forget to allow show notifications when the browser asked for it.
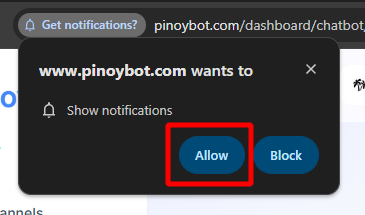
Push notifications appear on your computer through your system's notification area or system tray, depending on your operating system and browser settings.
These notifications can help you notice alerts without keeping the Inbox open at all times.
Make sure your browser and system settings allow notifications if you want to receive them.
Email Notifications
Email notifications let you receive alerts through an email address you configure in your notification contacts.
This is useful if you prefer to receive alerts in your inbox or need to keep track of inquiries while you're away from the dashboard.
This sends an automated email to the address on your recipients list, asking for assistance and including an excerpt of the communication that triggered it.
SMS Notifications
Warning
A contact number can be added but we currently do not support SMS notifications yet.
Mobile notifications are planned for a future release and are not currently available.
An automated help request using SMS, dispatched to your recipient numbers.
Managing notification contacts
Notification contacts specify the people or destinations associated with your alerts.
Add a Contact
Use this sub-form to designate specific people or endpoints who need to be notified when human intervention is needed.
Contact Name (Required)
Enter the first and last name of the team member or collaborator (e.g., John Doe).
Contact Type (Required)
Click the dropdown selection to select the type of contact information (Email or Mobile Number). This will also update the input field for Contact Information.
Contact Information (Required)
Input the routing path corresponding to the contact (Email Address or Mobile Phone Number). Depending in which contact type you selected, it can be:
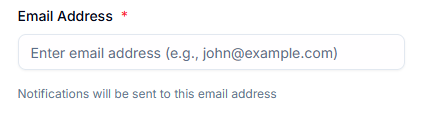 or
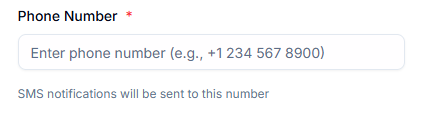
Add to Recipients List
Once all fields are properly populated, click the blue Add contact button to temporarily queue the recipient into the staging list below.
Make sure the contact information is correct so notifications can be directed to the intended recipient.
Recipients List & Saving Changes
Reviewing Entries
The Recipients grid located at the bottom of the page displays all added contacts currently configured to receive alerts for this bot.
 Review your contact list periodically to ensure it reflects your team's
current needs.
Editing and Deleting Entries
Click on the 3 dots at the right most of the contact entry to access the context menu for that line item. This will give you options to delete or edit the contact.
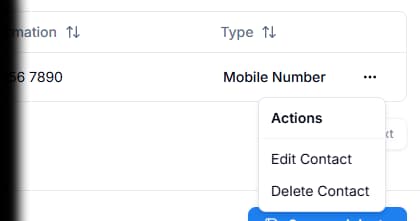
Edit
When you click edit, the information will go to the edit contact area, which is basically where the add contact form was.
 Now, you can update the data and then click the Update contact button when you're done. Or click cancel to discard your changes.
Delete
Clicking this will remove the contact from the list. Just don't forget to validate your changes after.
Finalizing Updates & Saving your settings
After changing notification preferences or contact details, remember to click Save to apply your changes.
Before leaving the page, double-check that your preferred notification channels are enabled and that your contact information is correct.
Tips for managing notifications
- Enable the channels that best fit how your team works.
- Double-check email addresses and mobile numbers for accuracy.
- Keep your contact list up to date when team members change.
- Allow browser notifications if you rely on desktop push alerts.
- Save your changes after updating your preferences.
The short version
You may also want to check out these guides
Did this fix it?
If you are unable to solve your issue, tell us what happened. You do not need to be signed in.